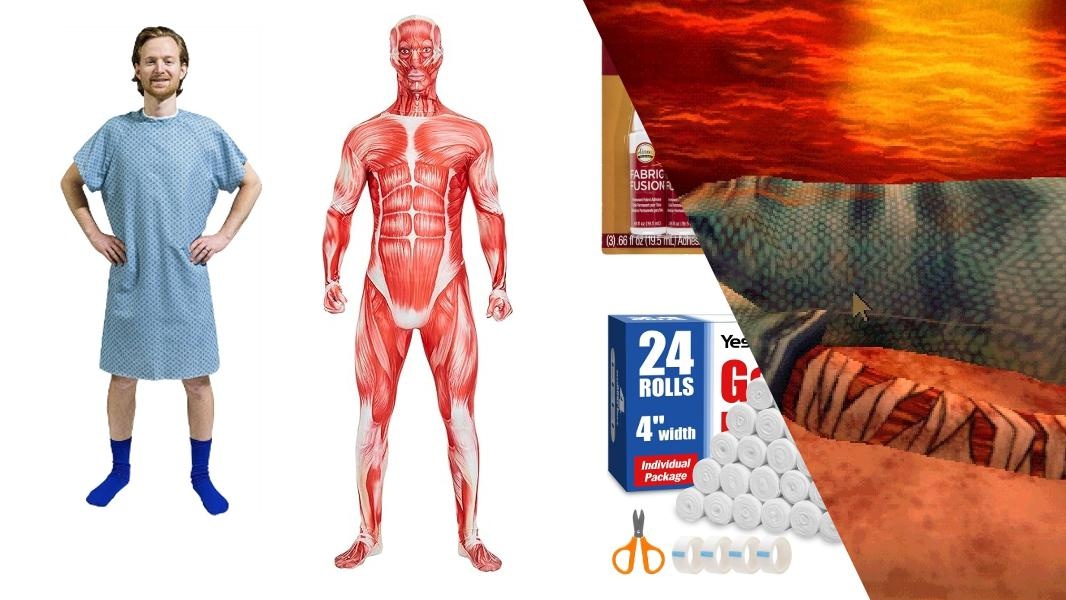


Curly from Mouthwashing is one of the most haunting characters in recent indie horror gaming.
His transformation from a confident pilot to a bandaged survivor is visually striking and deeply memorable.
Creating a Curly cosplay allows you to explore heavy special effects and distressed medical textures.
This guide will help you assemble a budget-friendly DIY version of this iconic, tragic character.
Whether you are hitting a convention or filming a short, these steps ensure a high-impact look.
Let’s dive into the technical details of bringing this tragic protagonist to life through your craft.
Every piece of this ensemble should tell a story of survival against impossible odds.
Complete Costume Breakdown
Curly’s look is defined by medical trauma and the stark contrast of blue and red.
The base of the costume relies on layering textures to mimic exposed muscle and medical wraps.
You want to achieve a “raw” look that feels both cinematic and uncomfortable for viewers.
Focusing on the right materials will make your DIY process much smoother and more effective.
Clothing & Core Pieces
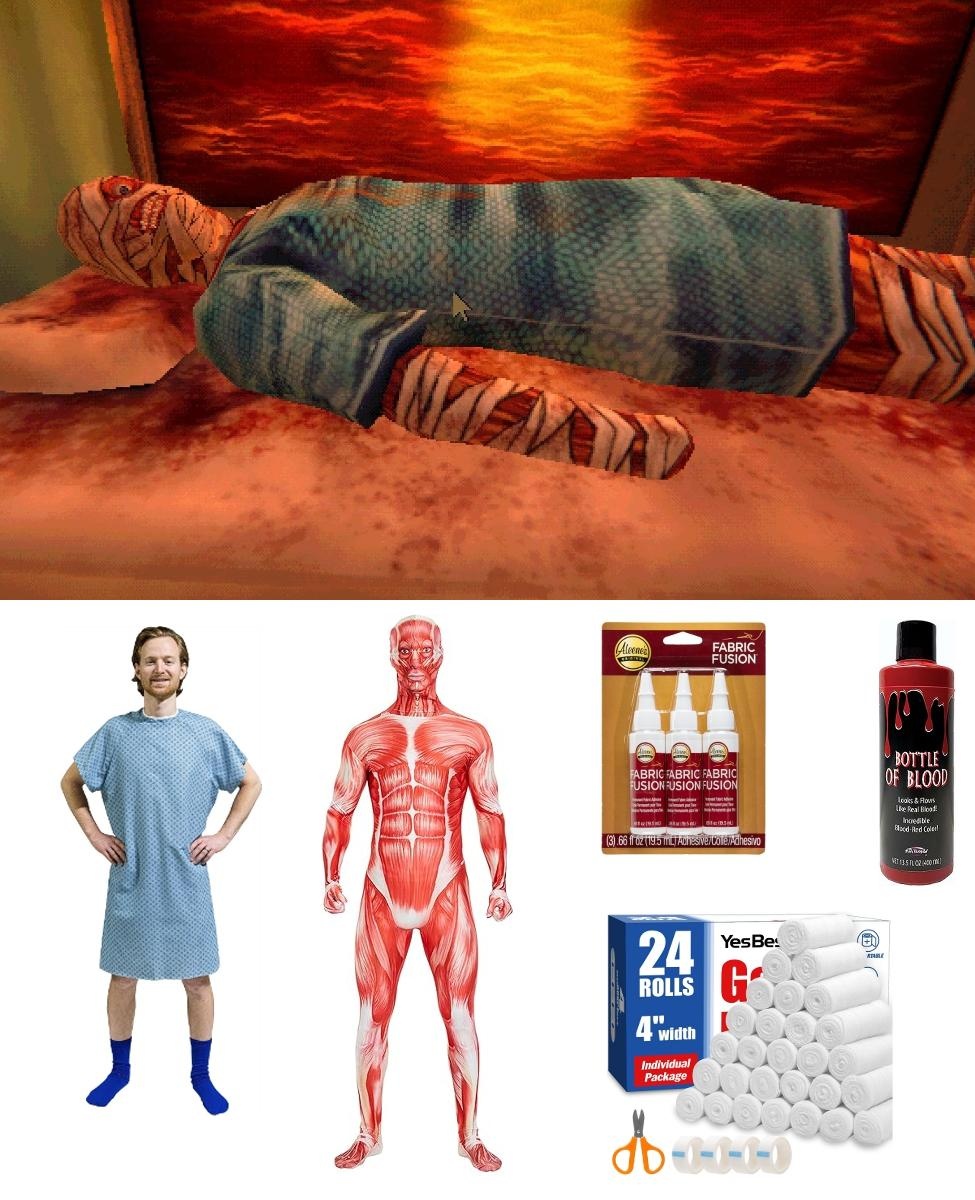
The foundation of this cosplay is a blue hospital gown that looks authentic and lived-in.
Since Curly is severely burned and injured, you need a base layer that looks like raw skin.
A muscle print bodysuit works perfectly to provide that anatomical, skinless effect beneath the gown.
Wear the bodysuit first to ensure the “muscle” shows through any gaps or tears in the clothing.
Cut the hospital gown strategically to reveal the muscle pattern in key areas like the arms and chest.
Use fabric glue to secure the gown’s edges so they don’t fray too much during your event.
The goal is to look fragile and broken while maintaining the structural integrity of the costume.
Accessories & Details
Medical gauze and bandages are the most critical accessories for a convincing Curly cosplay.
Wrap your head and limbs loosely with white gauze to create that fresh-out-of-surgery appearance.
Secure the bandages with medical tape, but keep some ends trailing for a more distressed vibe.
Apply fake blood liberally over the bandages, focusing on areas where “wounds” would naturally seep through.
Let the blood dry in layers to create different shades of red and brown for realism.
A pack of gauze, tape, and scissors is essential for managing the wraps during a long day.
The chaotic placement of the tape adds to the frantic, emergency nature of the character’s medical state.
Cosplay Tips
Weathering your fabrics is the secret to making this costume look truly terrifying and professional.
Soak your bandages in tea or coffee to give them an aged, yellowed tint before applying blood.
Use dark eyeshadow or face paint around your eyes to create a sunken, hollowed-out expression.
If you find the bodysuit too bright, dry-brush some black or dark red paint onto the muscles.
Practice moving in the bandages to ensure they stay secure while you walk through a convention hall.
Carry a small bottle of fake blood for quick touch-ups if the color begins to fade.
Stain the edges of the hospital gown with brown and grey paints to simulate ship-side grime.
Character Vibe & Styling Notes
Curly is a character defined by pain, regret, and a lost sense of self-control.
Your posture should reflect this; try slightly hunched shoulders and slow, deliberate movements.
The “Mouthwashing” aesthetic is gritty and lo-fi, so avoid making anything look too clean or new.
Think about the environment of the Tulpar and how grime would accumulate on a survivor’s clothing.
Your facial expressions—what can be seen through the bandages—should convey a sense of silent exhaustion.
Maintaining this heavy atmosphere will elevate your cosplay from a complete costume to a performance.
Final Thoughts
Bringing Curly to life is a rewarding challenge for any horror fan or creative cosplayer.
The mix of medical props and anatomical layers creates a visual that people won’t soon forget.
Don’t be afraid to get messy with the fake blood and distressing techniques during the build.
The more detail you put into the “trauma” of the outfit, the better the final result.
Enjoy the process of crafting this tragic hero and sharing your love for Mouthwashing with others.
You are now ready to step into the bandages and take on this unforgettable role.
Take plenty of photos in low lighting to capture the true essence of the character’s nightmare.