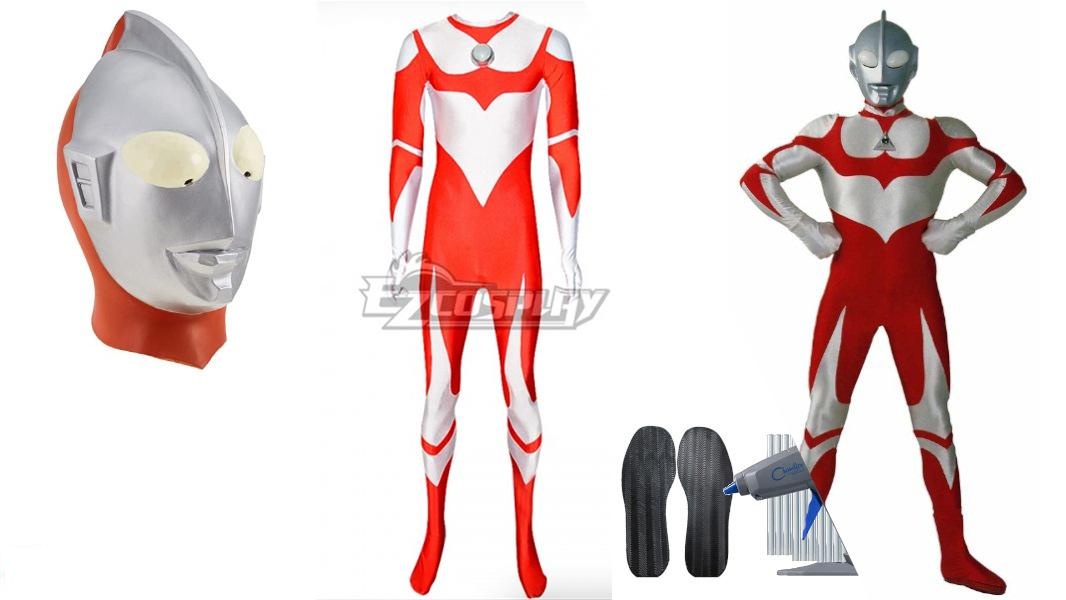
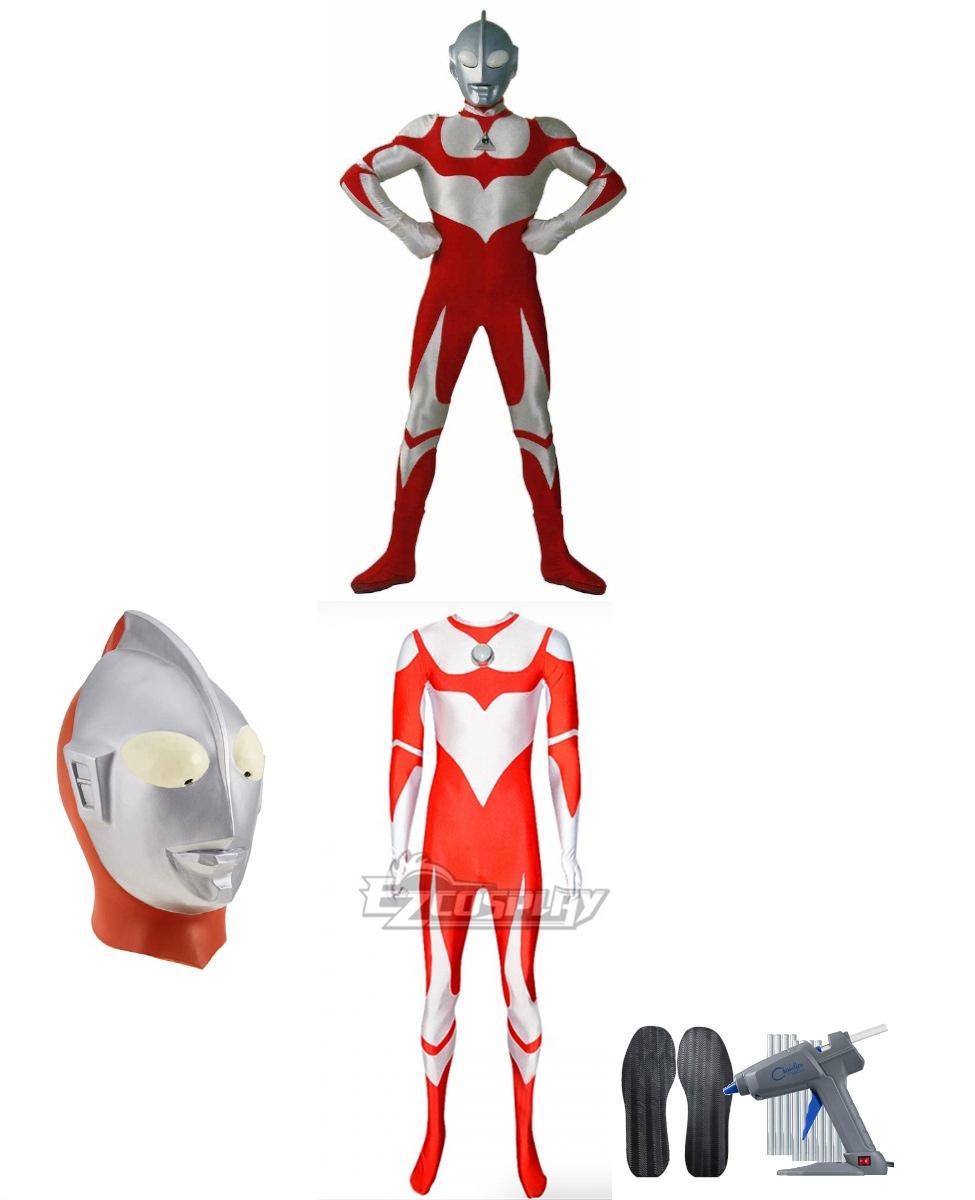


Ultraman’s design relies almost entirely on clean, unbroken lines: a skin-tight red and silver bodysuit paired with a smooth, sculpted alien helmet. Unlike armored hero suits that hide flaws behind bulky chest plates or shoulder pauldrons, this silhouette exposes every seam and contour, meaning fit and surface finish dictate how convincing the costume turns out.
Getting the look right comes down to two central tasks: securing a suit with accurate geometric patterns and solving the practical challenge of walking on convention floors without ruining enclosed spandex feet. Once those structural pieces are handled, the rest of the build centers on helmet comfort and clean transitions.
The Red and Silver Base Suit
A dedicated Ultraman Red and Silver Zentai Jumpsuit provides the graphic red-over-silver panels that define the classic hero. Because zentai fabric stretches across the entire frame, sizing requires close attention to torso length rather than just chest or waist measurements. A suit that runs too short pulls downward from the shoulders, distorting the curved red chest arches and straining the rear zipper.
Undergarments demand deliberate planning with skin-tight spandex. Seamless base layers or a dance belt prevent harsh fabric ridges from showing through the silver panels under direct lighting. If your suit includes attached fabric gloves, keep a slit hidden along the wrist seam so you can slip your hands free to handle phones or prop items without unzipping the entire back.
Mounting Shoe Soles Directly to Fabric Feet
Most manufactured suits feature enclosed feet made of standard lycra. Walking directly on convention carpet or concrete shreds this thin material within hours and offers zero traction. Slipping bulky external shoes over the suit disrupts the seamless flow of the silver lower legs, so the standard builder approach is attaching durable soles directly to the suit itself.
Start with a pair of flexible replacement Shoe Soles trimmed precisely to match your foot footprint. Put the jumpsuit on, step onto cardboard to trace your weight-bearing area, and lightly mark alignment points along the edge of the foot. Using a Hot Glue Gun loaded with high-temp adhesive sticks, press the rubber soles firmly against the stretched fabric bottom while using an internal cardboard foot insert to protect your skin from the heat. Working in two-inch increments ensures full bonding coverage without glue setting prematurely along the perimeter.
Helmet Placement and Vision
The Ultraman Helmet supplies the signature aerodynamic crest, ridged ears, and wide, luminous eye plates. Because vacuum-formed or cast helmets sit rigid against an otherwise flexible costume, internal stabilization is necessary to keep the eye slits aligned with your natural line of sight while walking.
Install small blocks of dense open-cell foam inside the crown and temple areas to adjust the resting height. This prevents the faceplate from tilting forward when you nod or look downward. If the eye lenses lack ventilation, apply an anti-fog spray to the interior plastic before wearing it, as your breath inside an enclosed shell quickly blinds your forward field of vision.
The Color Timer and Collar Line
The central chest emblem, known as the Color Timer, sits directly over the sternum. While printed suits depict the cyan oval as flat art, mounting a lightweight cast dome or clear craft cabochon over the graphic provides authentic depth. Keep the attachment method light—hook-and-loop tape or fabric adhesive works well—so the weight does not pull the front collar downward during movement.